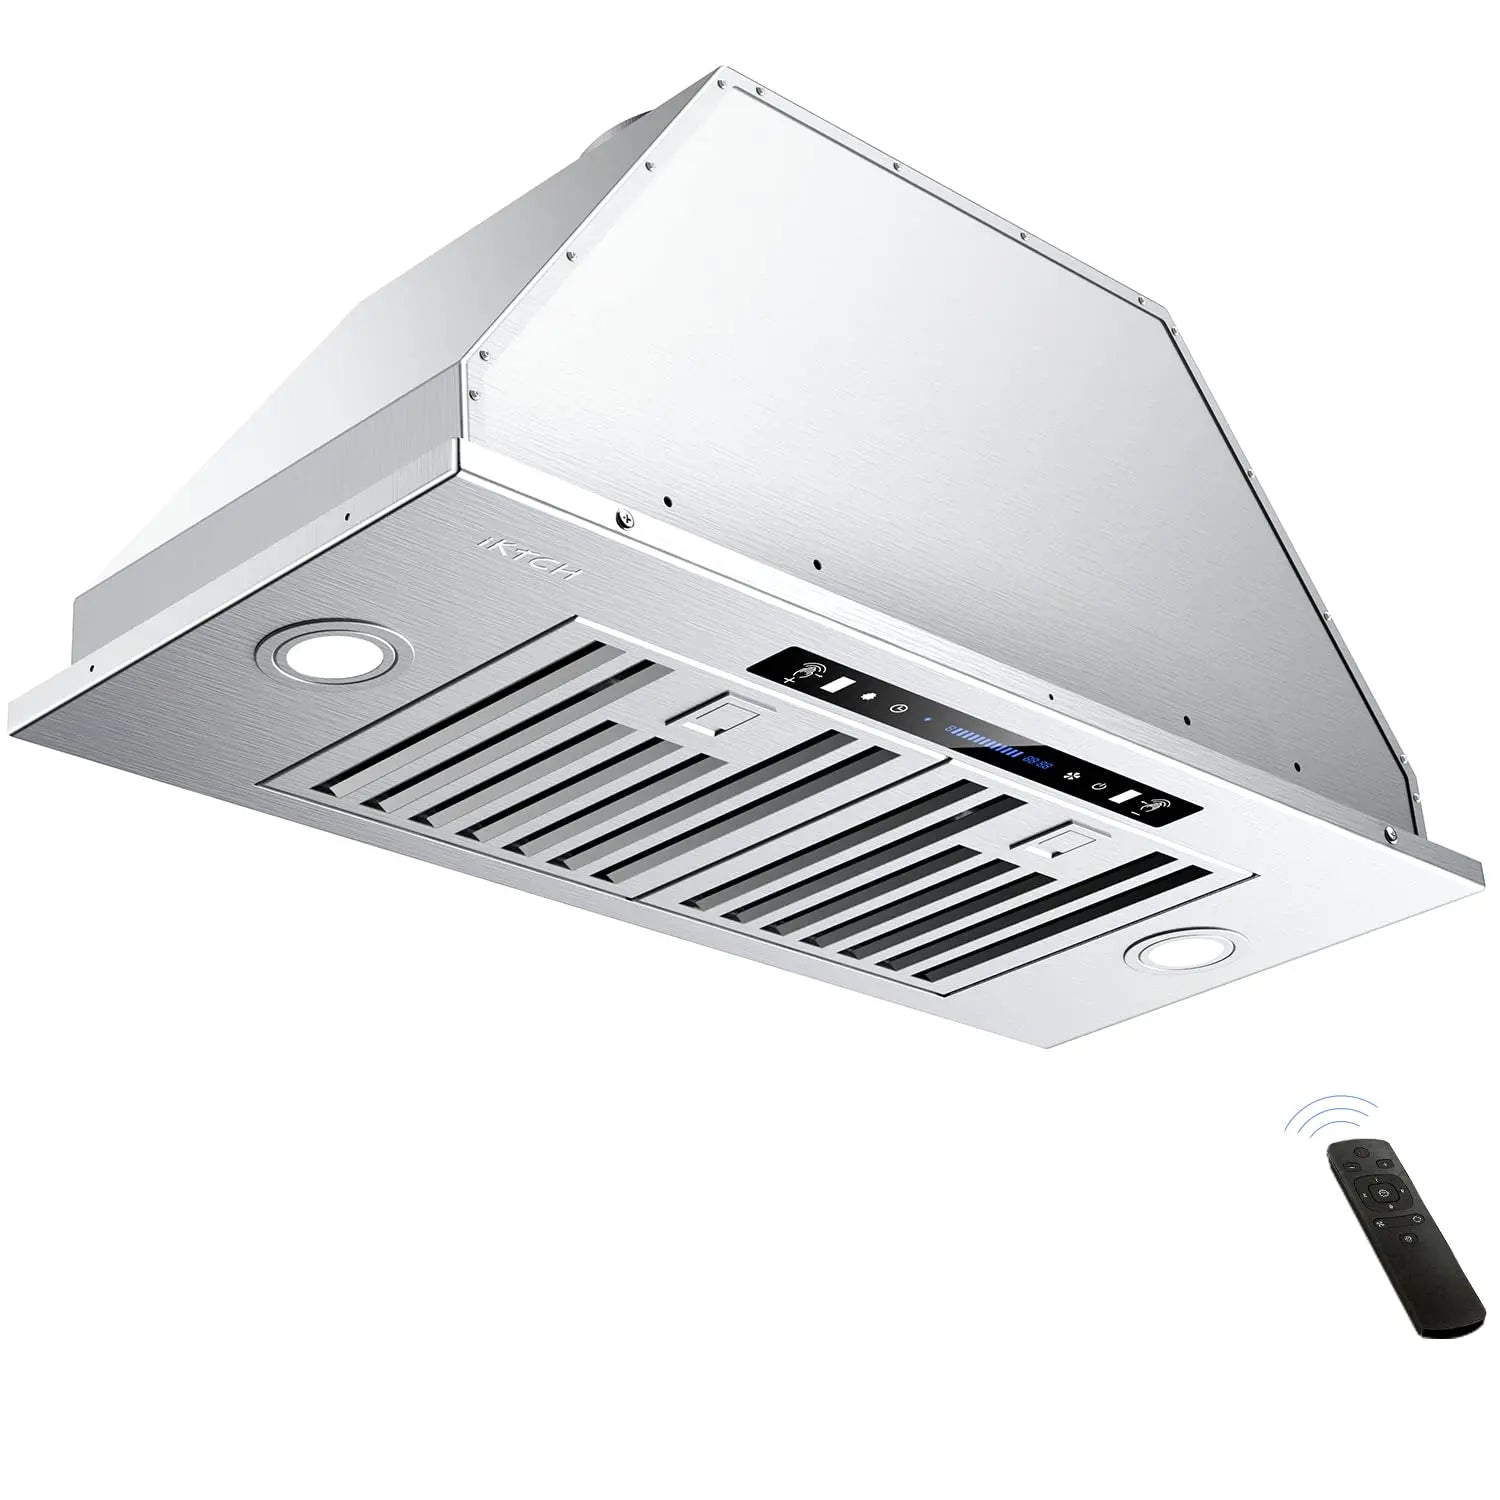
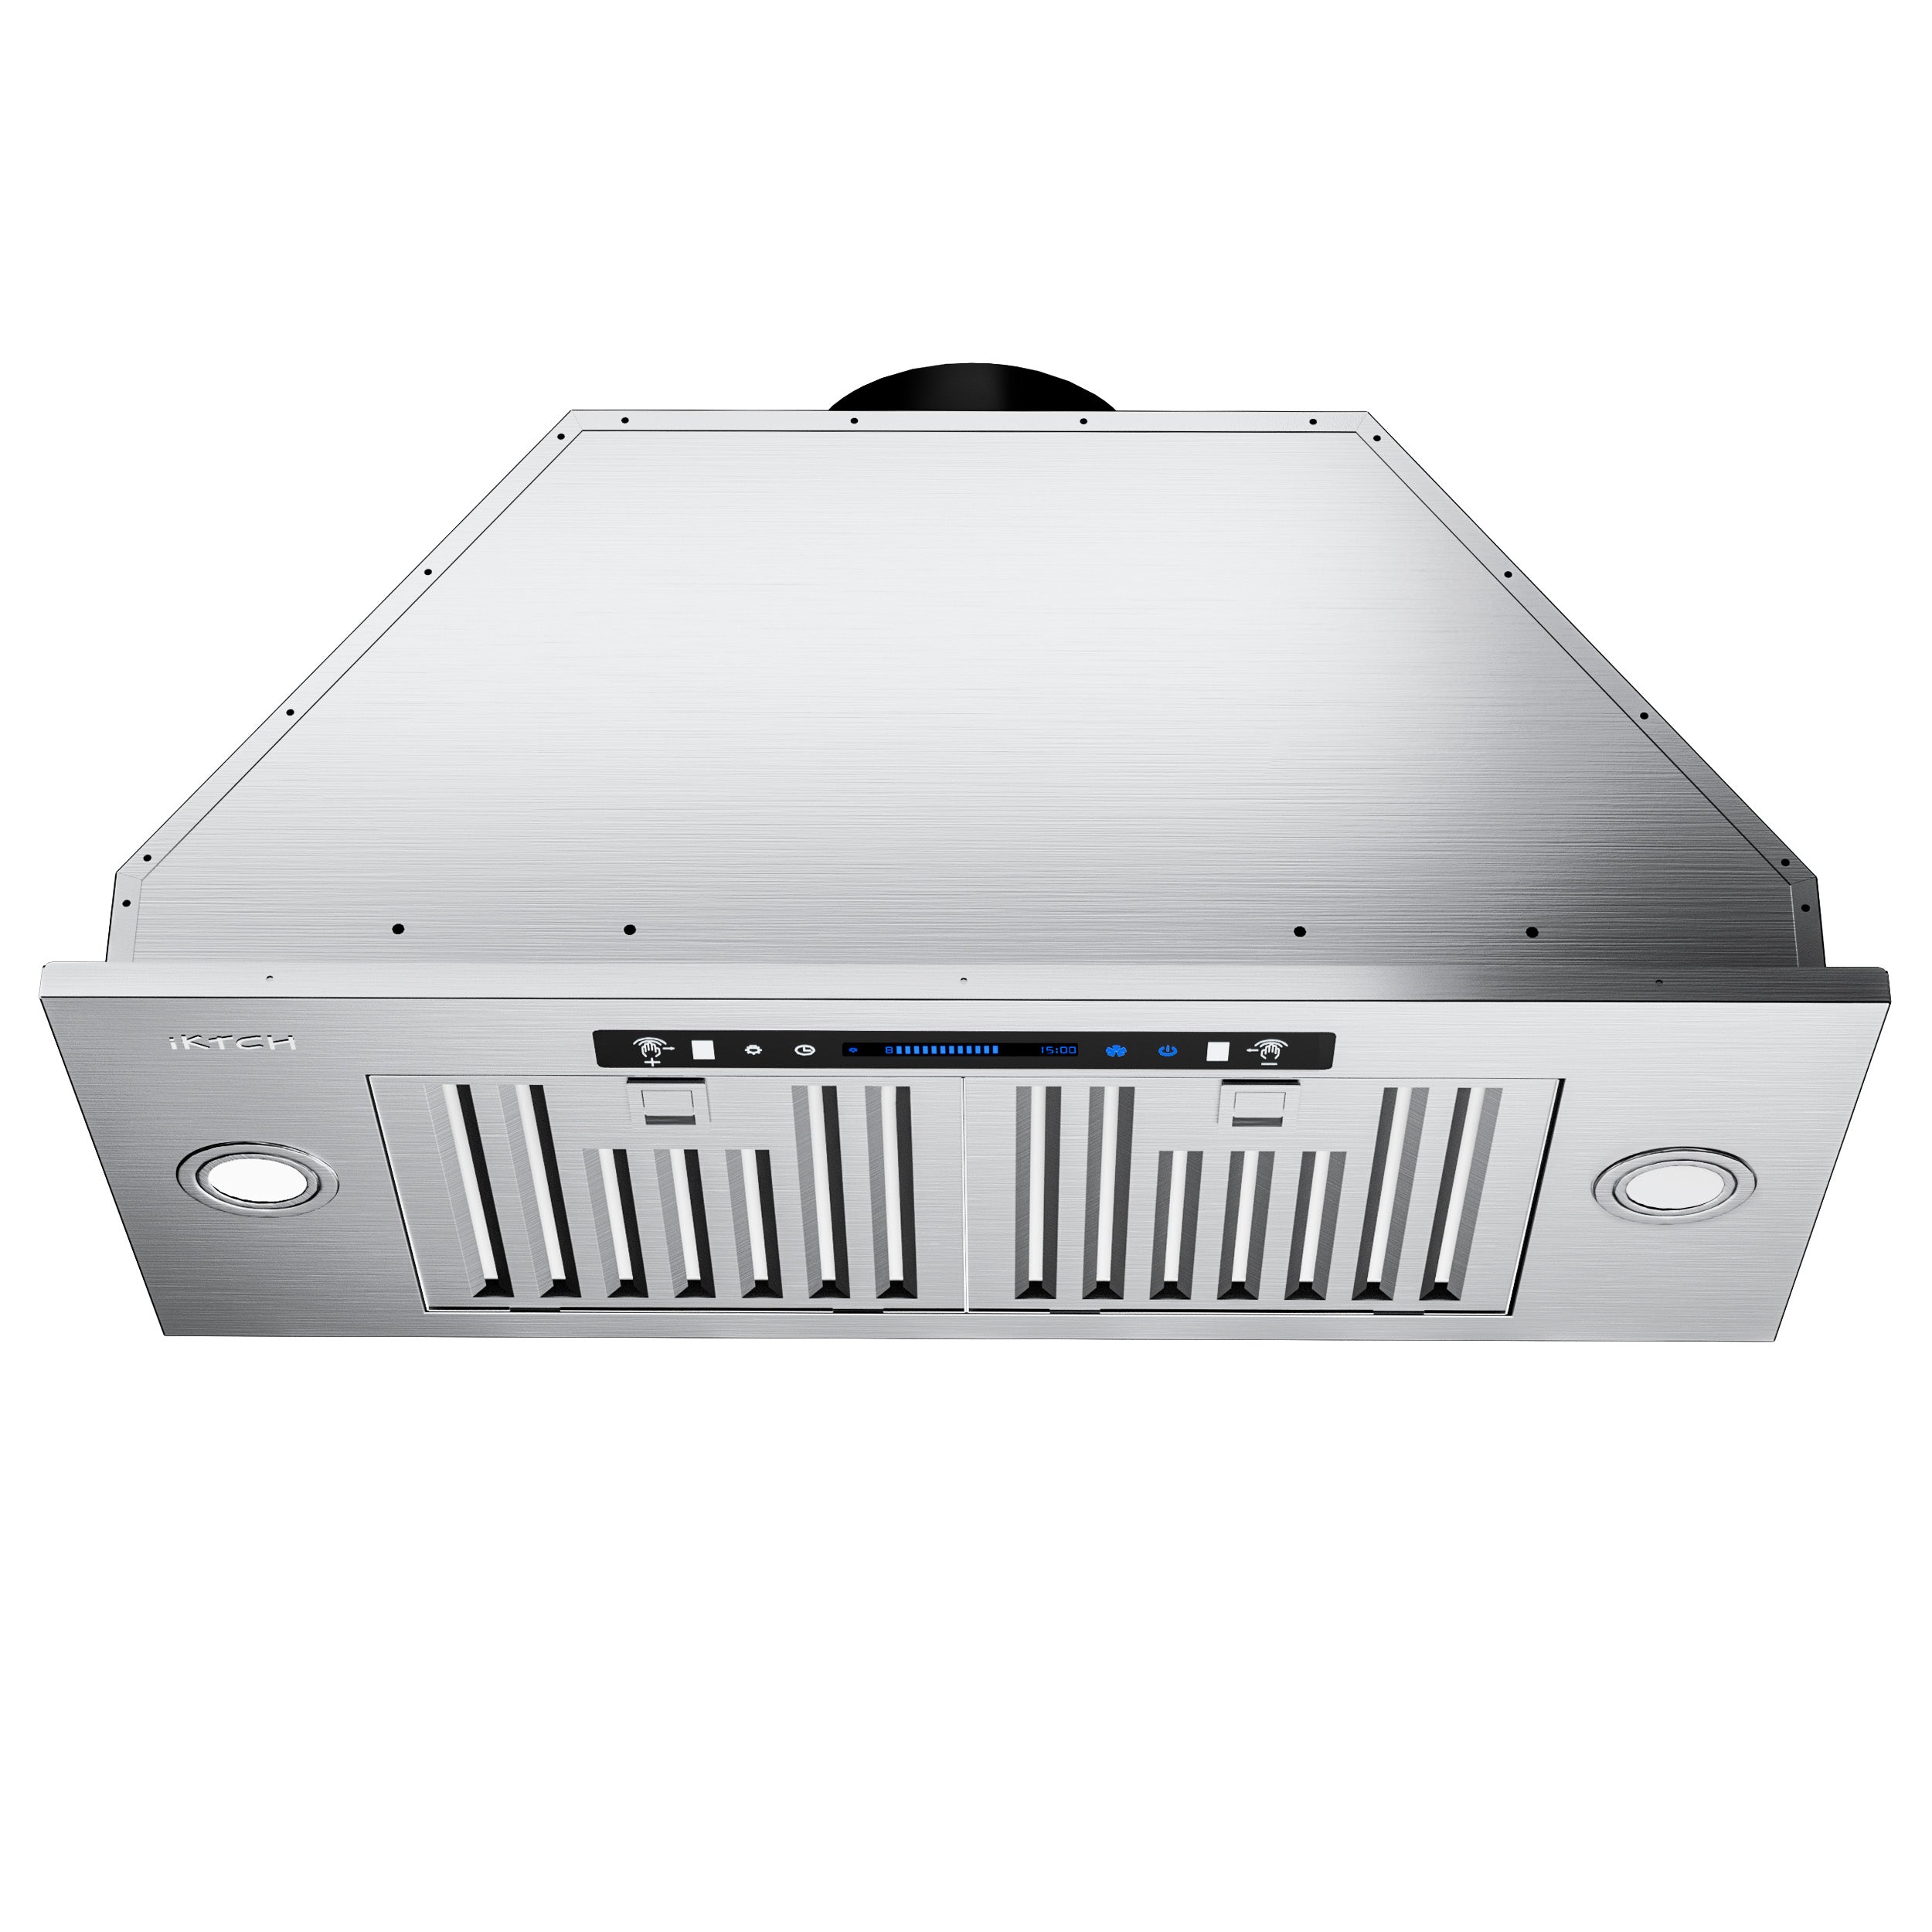
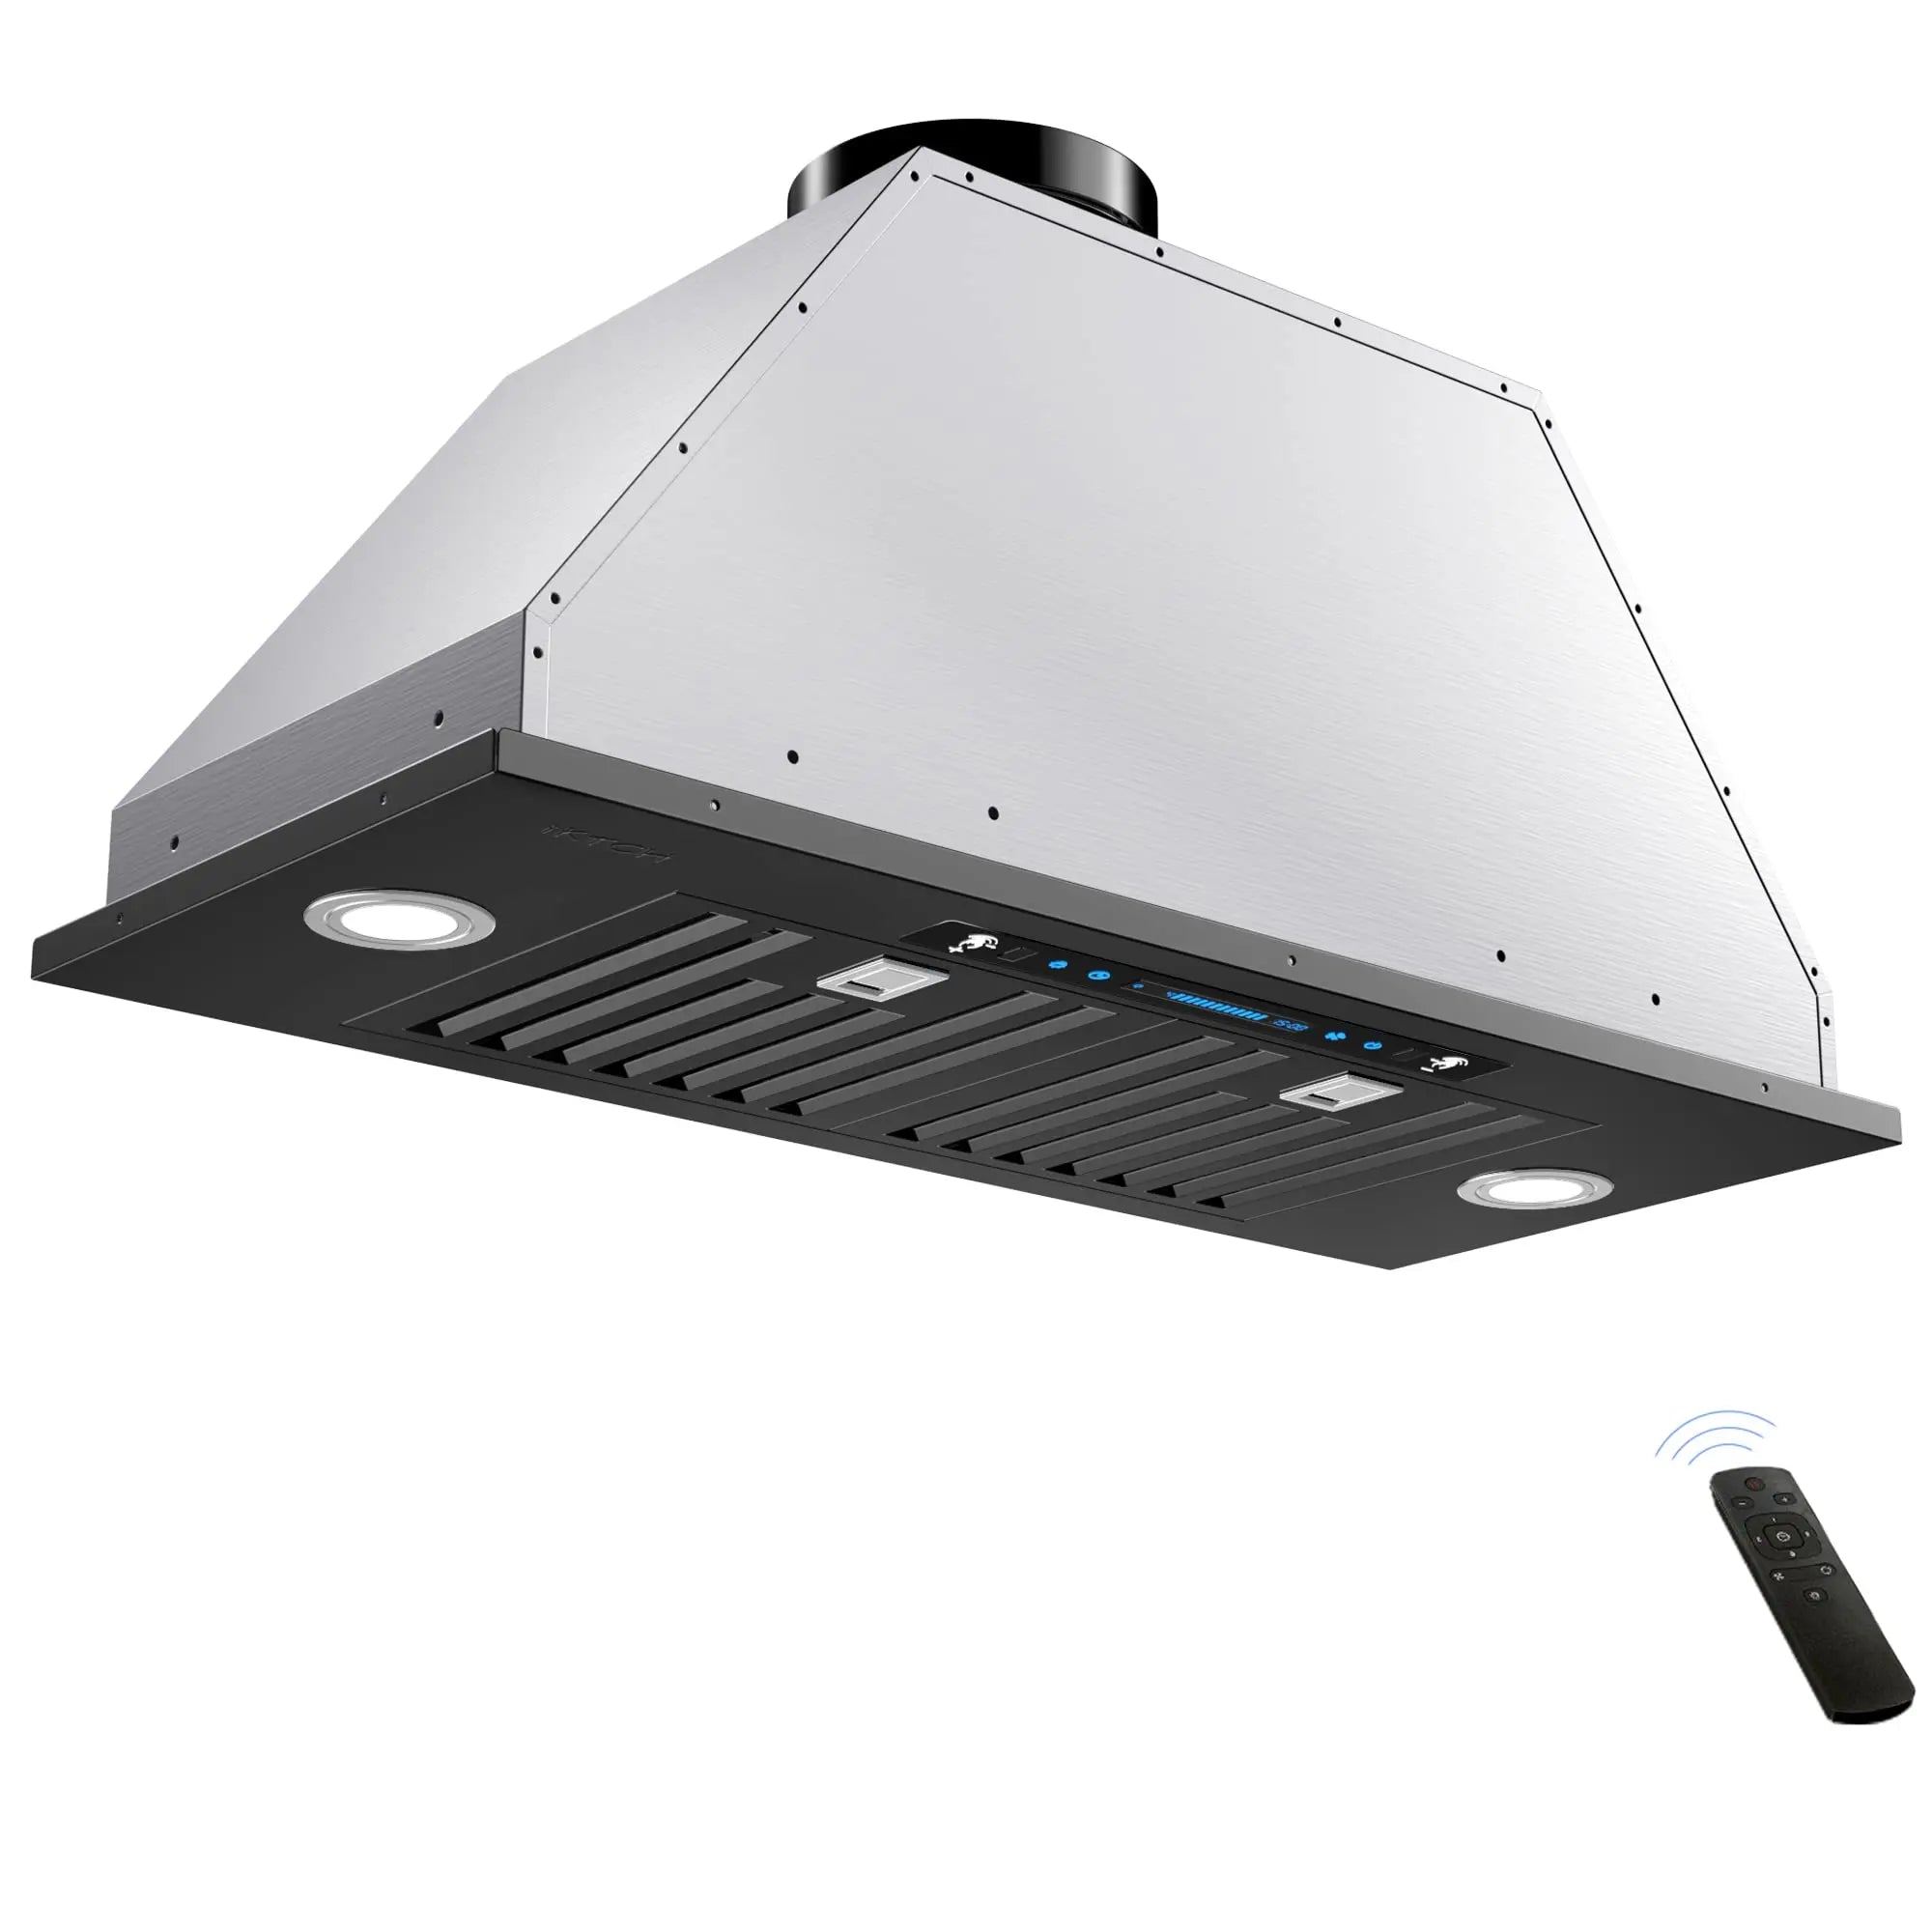
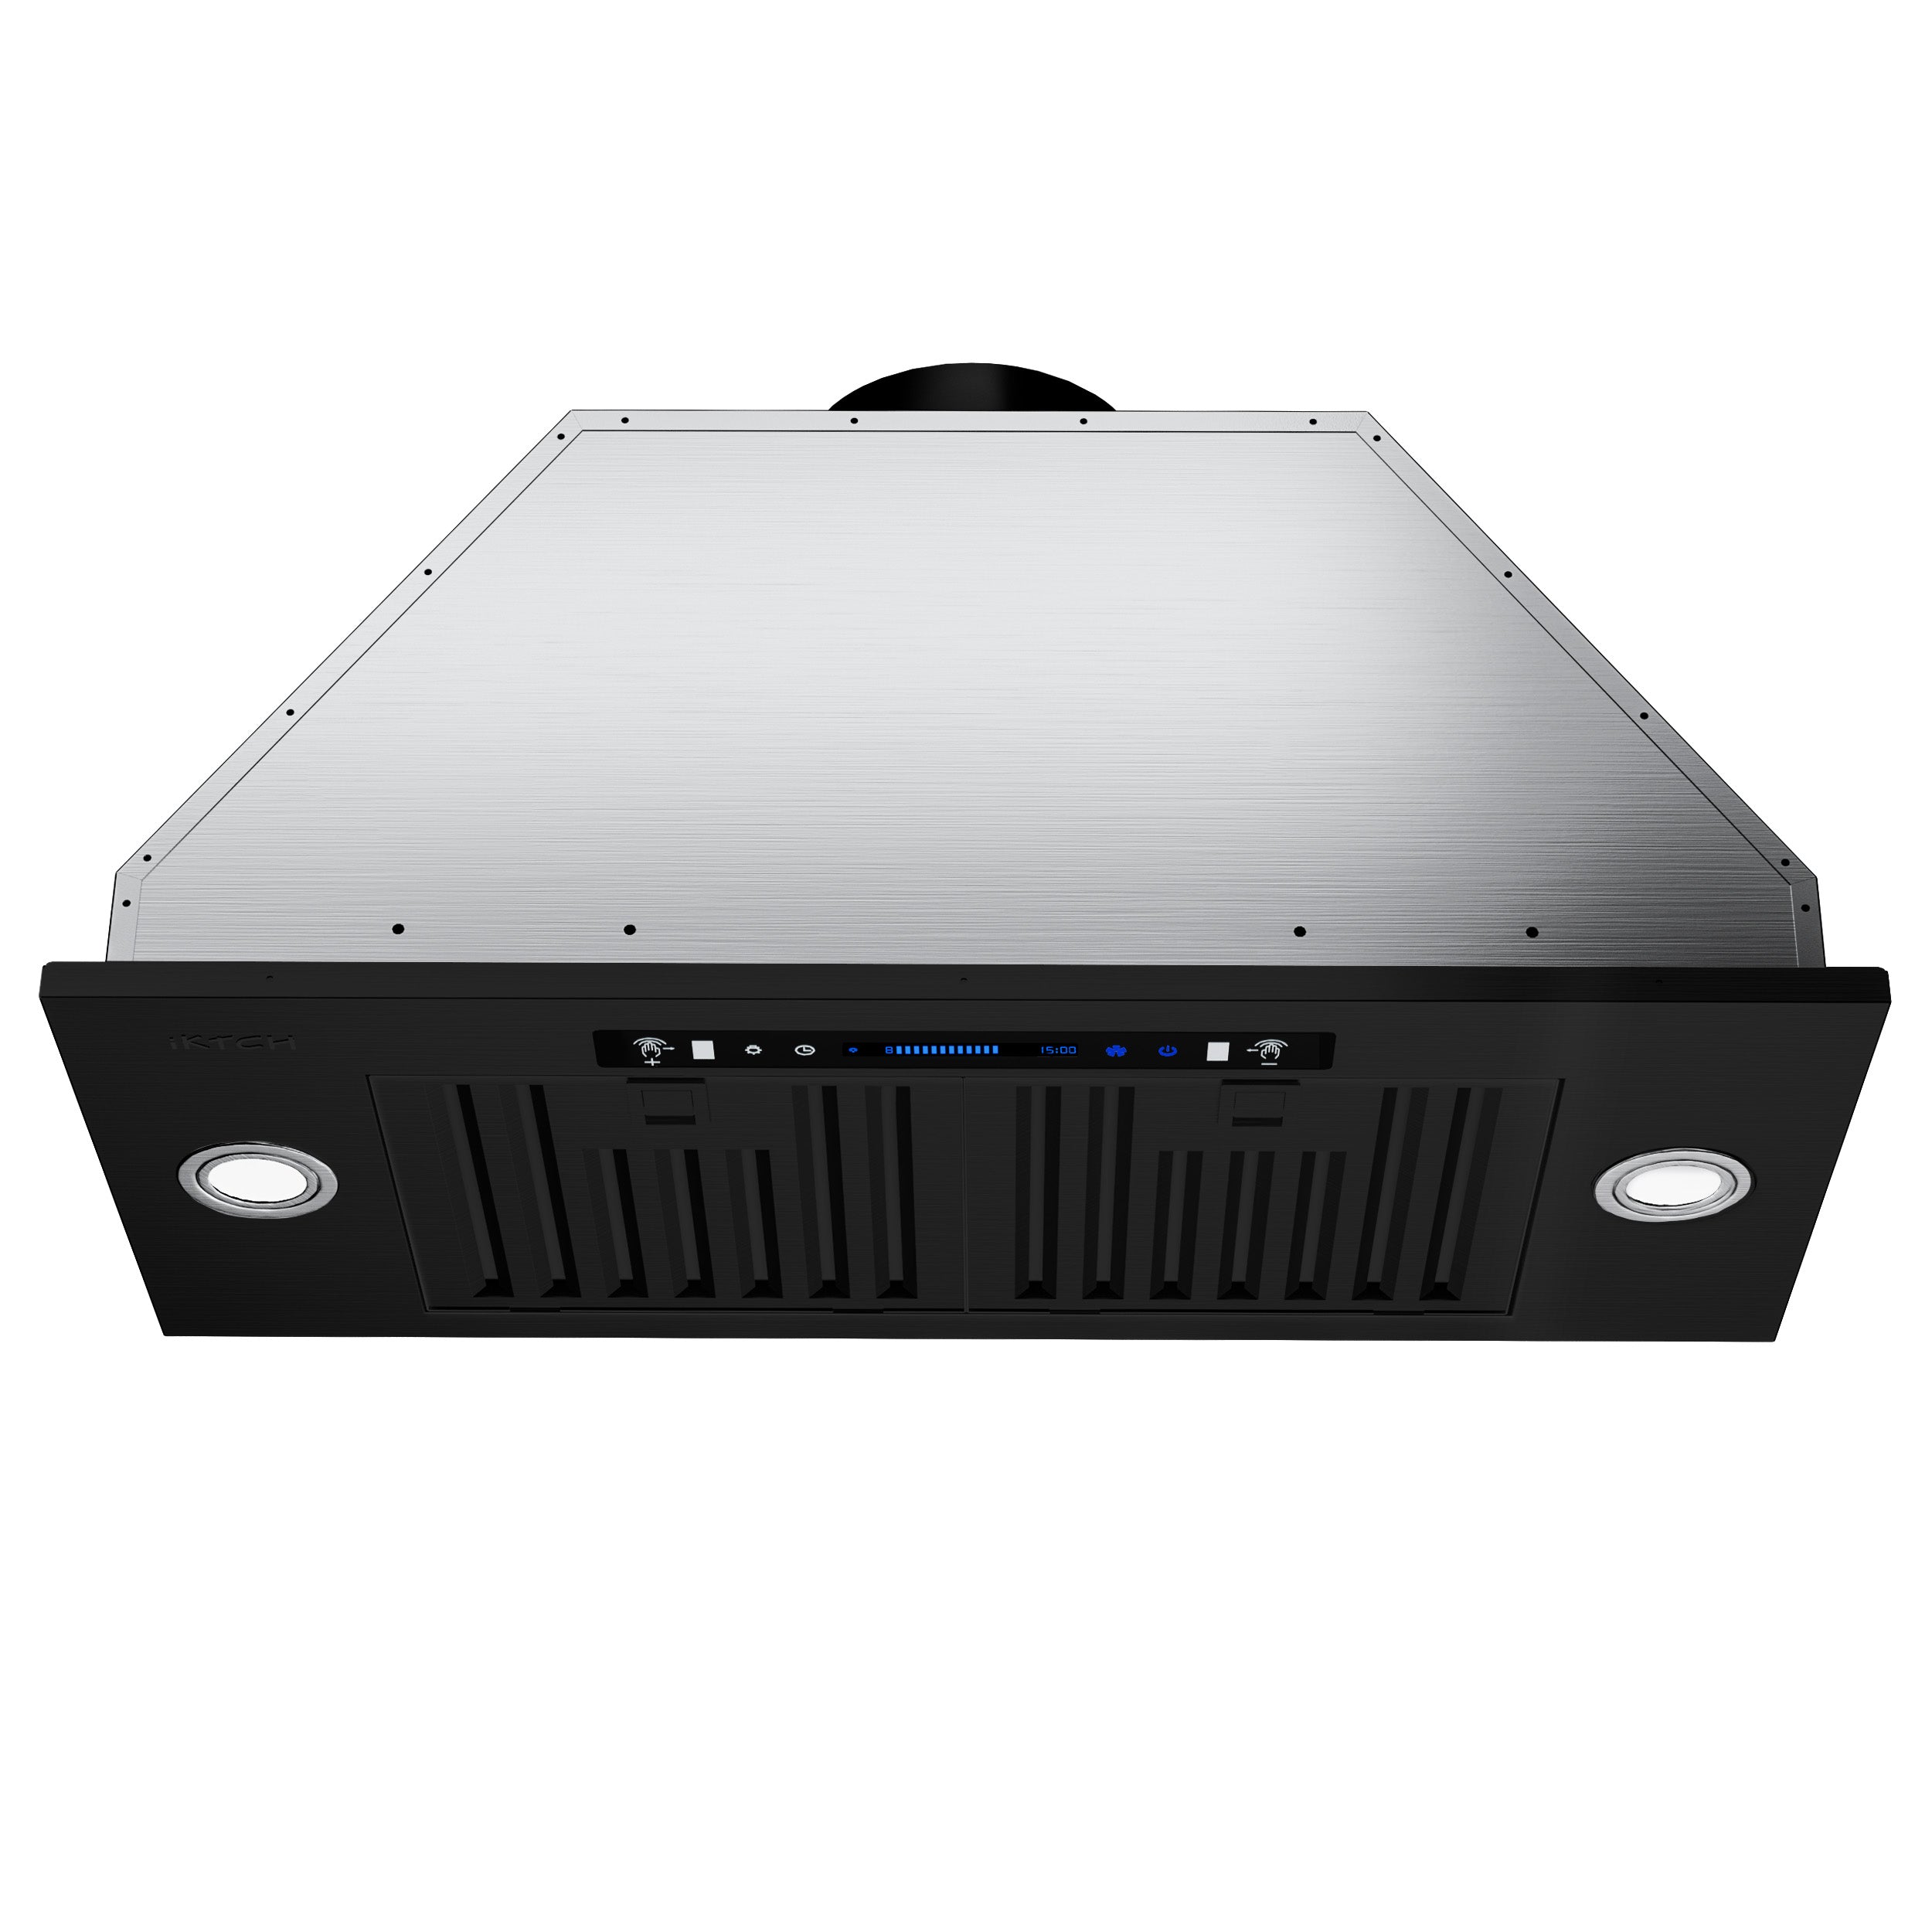
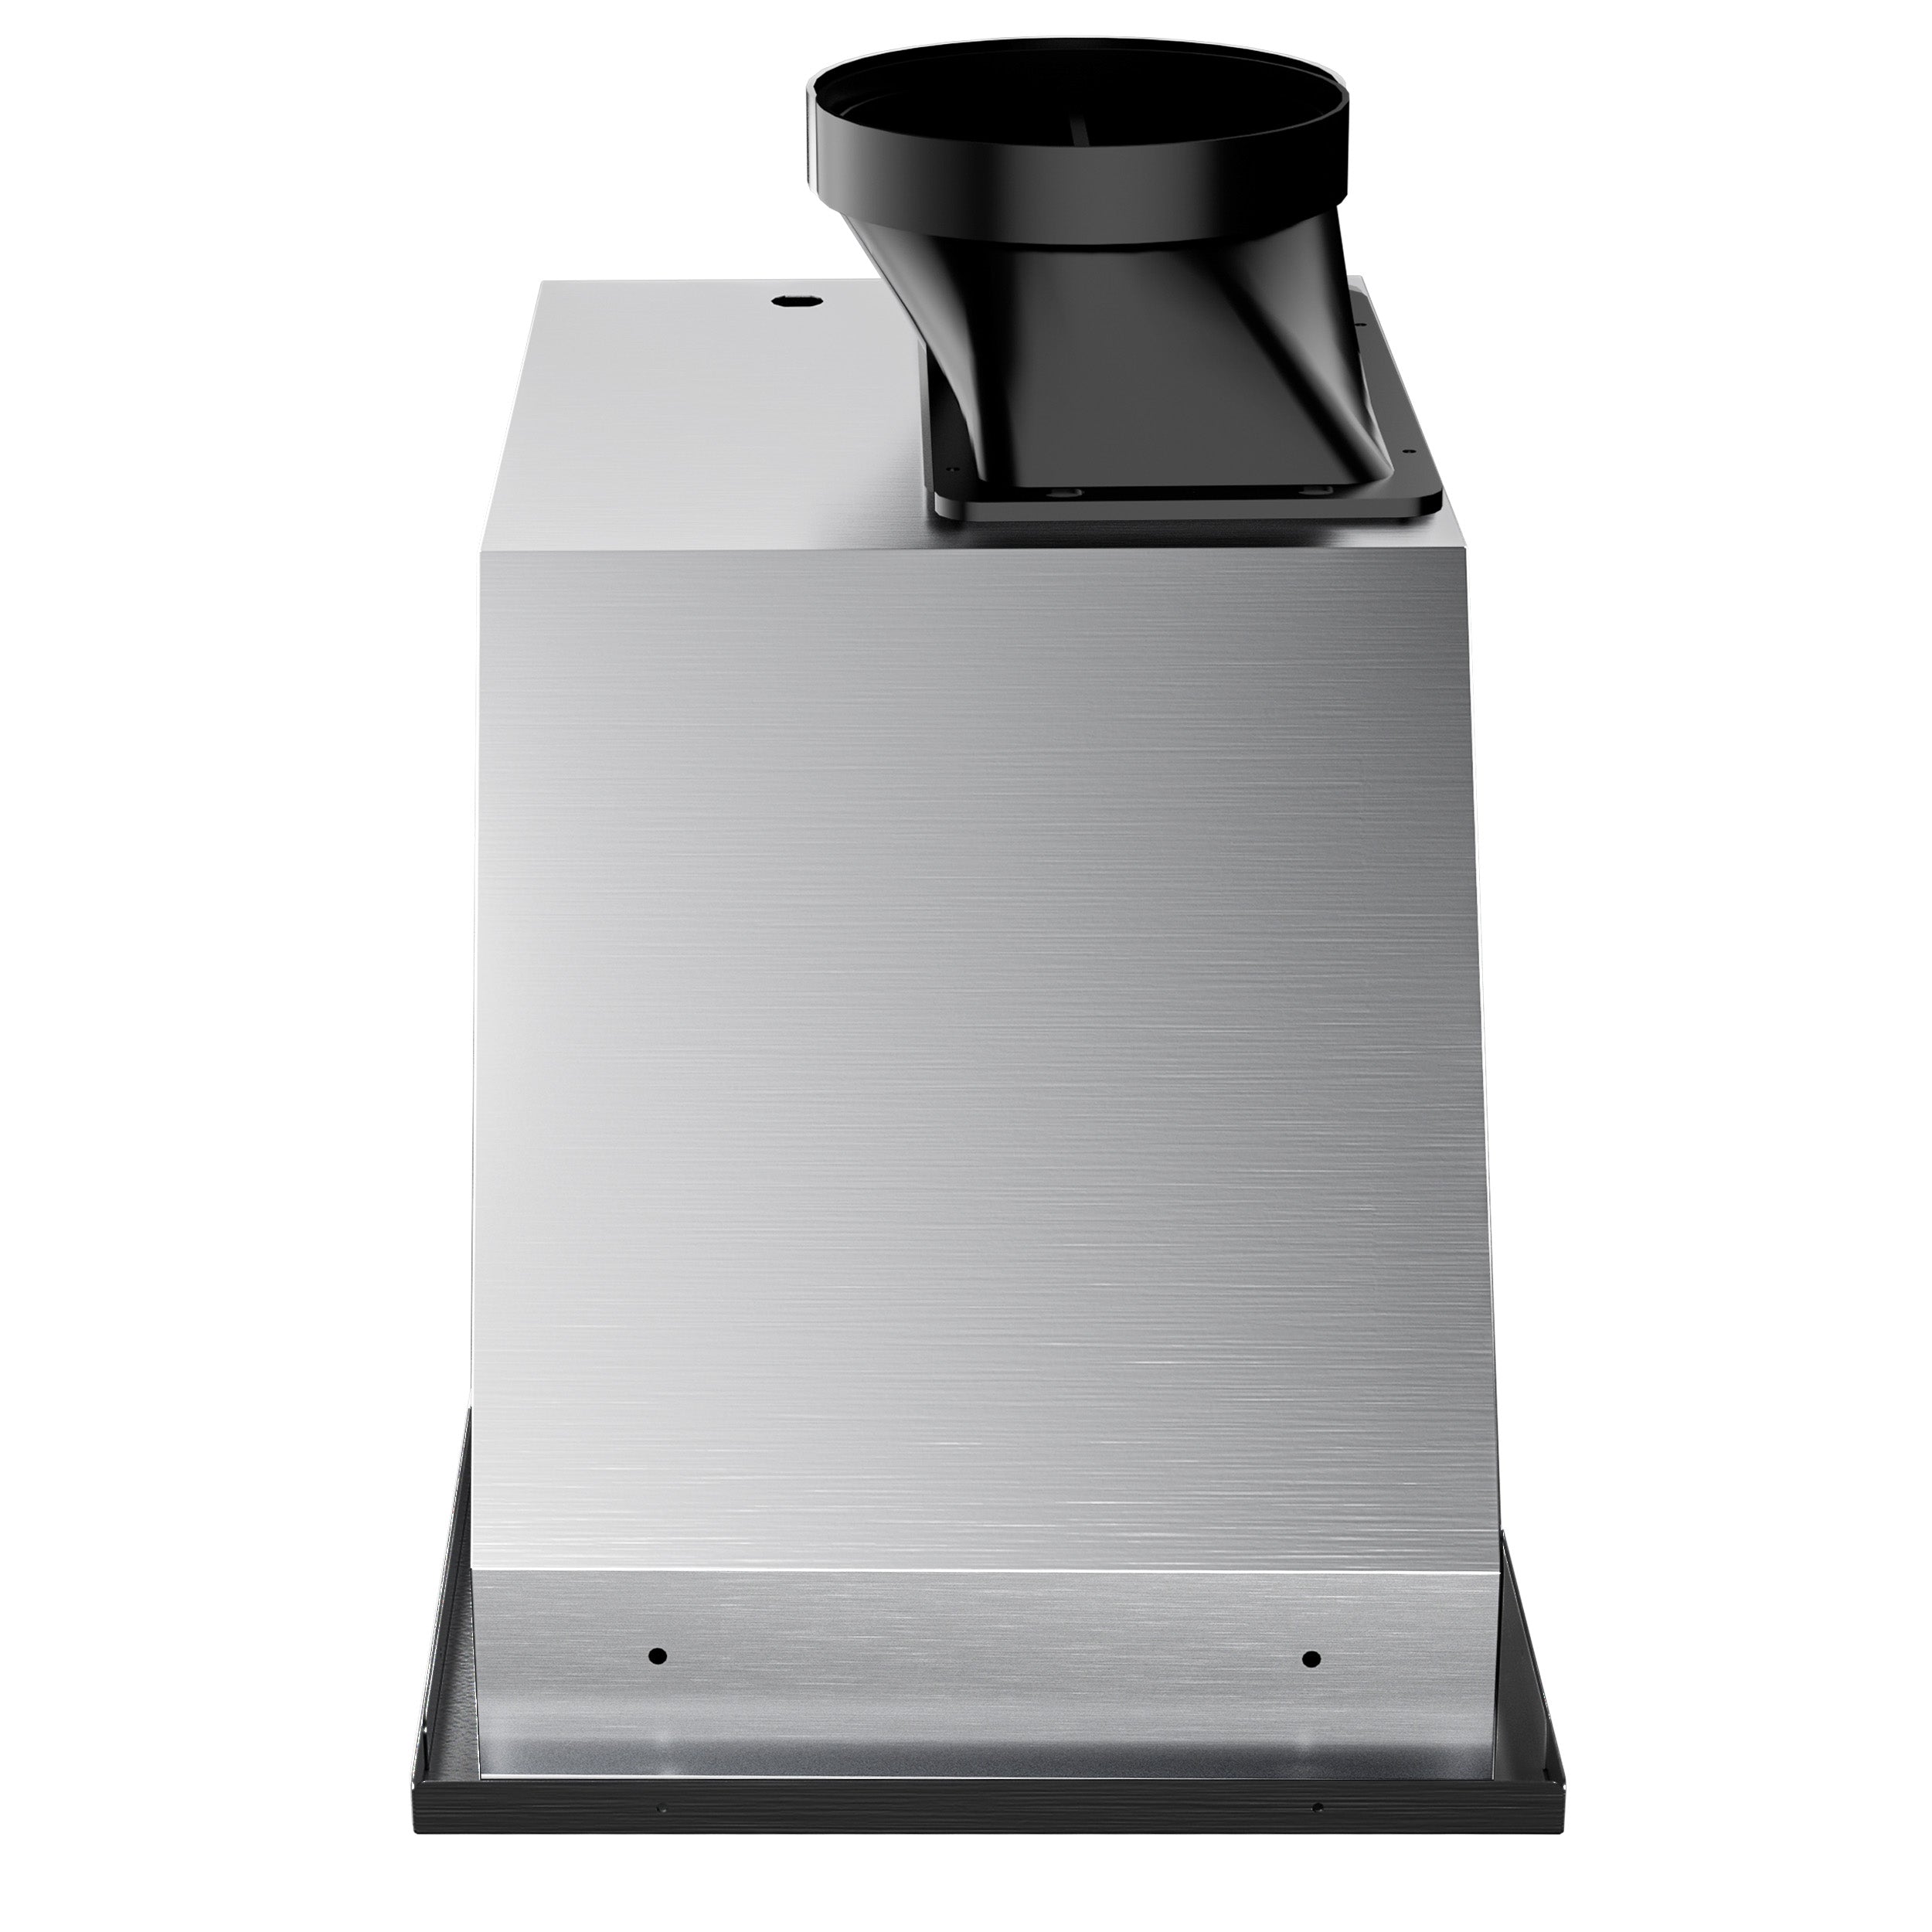
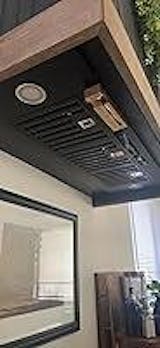
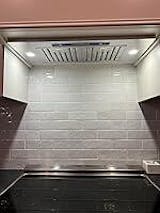
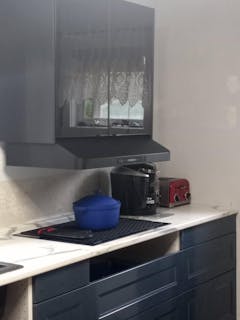
IKTCH IKB01 Built-in/Insert Range Hood
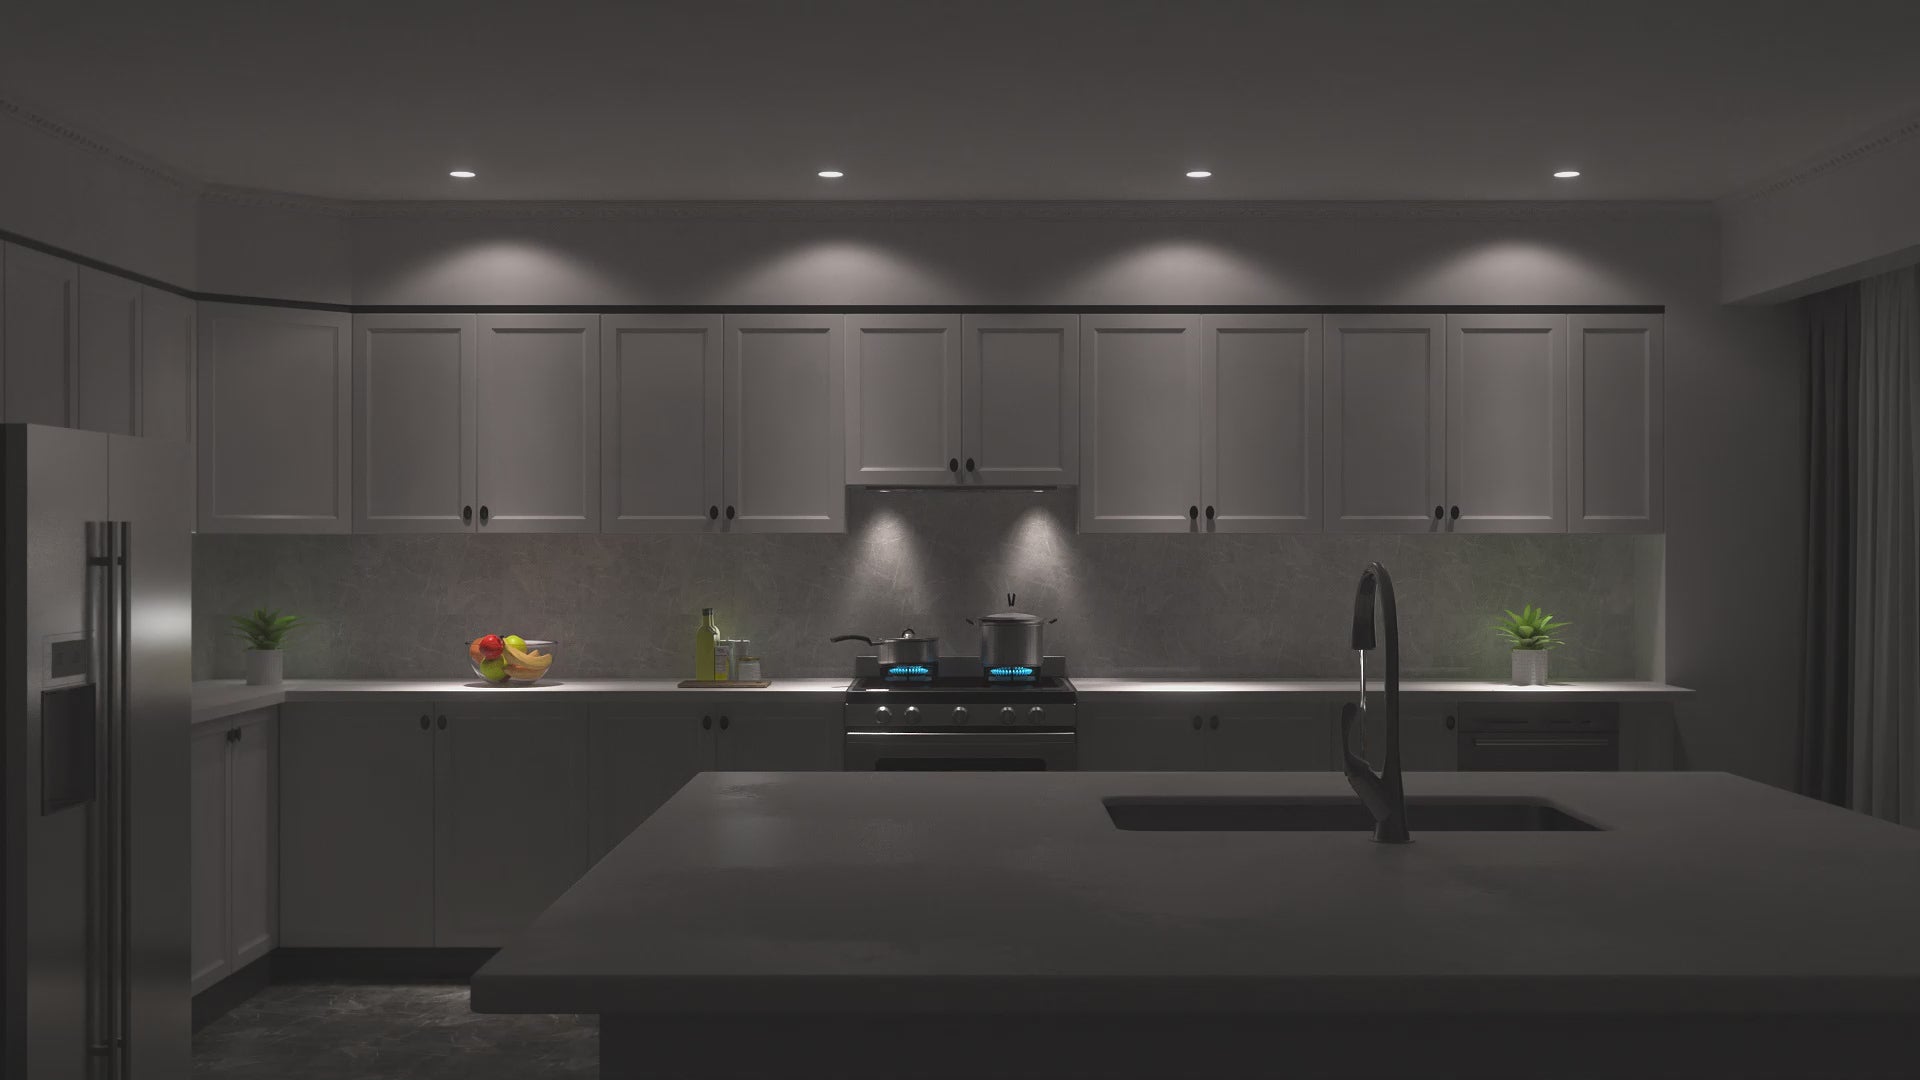
Upgrade your kitchen with IKTCH IKB01 Built-in/Insert Range Hood. This high-performance range hood features powerful suction, ensuring that your kitchen stays odor-free and smokeless while you cook. Made from durable stainless steel, the sleek design of this range hood allows it to blend seamlessly into any modern kitchen decor. With easy-to-use controls and LED lighting for increased visibility when cooking, the IKTCH IKB01 is a must-have appliance for any home chef looking to enhance their cooking experience. Don't settle for anything less than top-tier quality ā choose IKTCH and transform your cooking space today!
- It features advanced technology that ensures maximum ventilation with minimal noise
- Sleek design: Made of premium stainless steel material, the IKTCH range hood adds an elegant touch to any modern kitchen decor
- Its sleek and seamless design complements various cabinet styles perfectly while providing excellent functionality
- Convenient maintenance: Cleaning the IKTCH range
IKTCH Built-in/Insert Range Hood, 900 CFM Ducted/Ductless Stainless Steel Kitchen Vent Hood with 4 Speed Gesture Sensing&Touch Control Panel
Click here for full installation instructions
INSTALLATION
PLEASE READ ENTIRE INSTRUCTIONS BEFORE PROCEEDING
Calculation before Installation
To calculate installation please refer to TABLE 1. (All calculation in inches).
-FOR BUILT-IN/INSERT
Ā
Ā
TABLE1
-FOR BUILT-IN/INSERT
A = Height of Floor to Ceiling
B = Height of Floor to Counter Top(Standard:36ā)
C = Height of Counter Top to Wood FrameBottom(Recommended 26āto 30ā)
D =Height of Wood Frame
Ā
Ā
ā ļøSAFETY WARNING
āHOOD MAY HAVE SHARP EDGES: PLEASE WEAR PROTECTIVE GLOVES IF REMOVING ANY PARTS FOR INSTALLING,CLEANINGļ¼OR SERVICING.
āBE CAREFUL WHEN USING ELECTRICAL SCREWDRIVER,DAMAGE TO THE HOOD MAYOCCUR USING HAND TOOLS IS RECOMMENDED. DO NOT OVER TIGHTEN SCREWS.
āMAKE SURE TO PREVENT ANY DEBRIS FROM ENTERING THE VENT OPENING TO AVOID DAMAGE OR MALFUNCTION.
INSERTINSTALLATION
Before Installation
1. Read any provided document(s).
2. Test the range hood by temporarily connecting it to an outlet and turning the fan and lights ON.
3. If you run into any problems, contact IKTCH Range Hoods
Venting Requirements
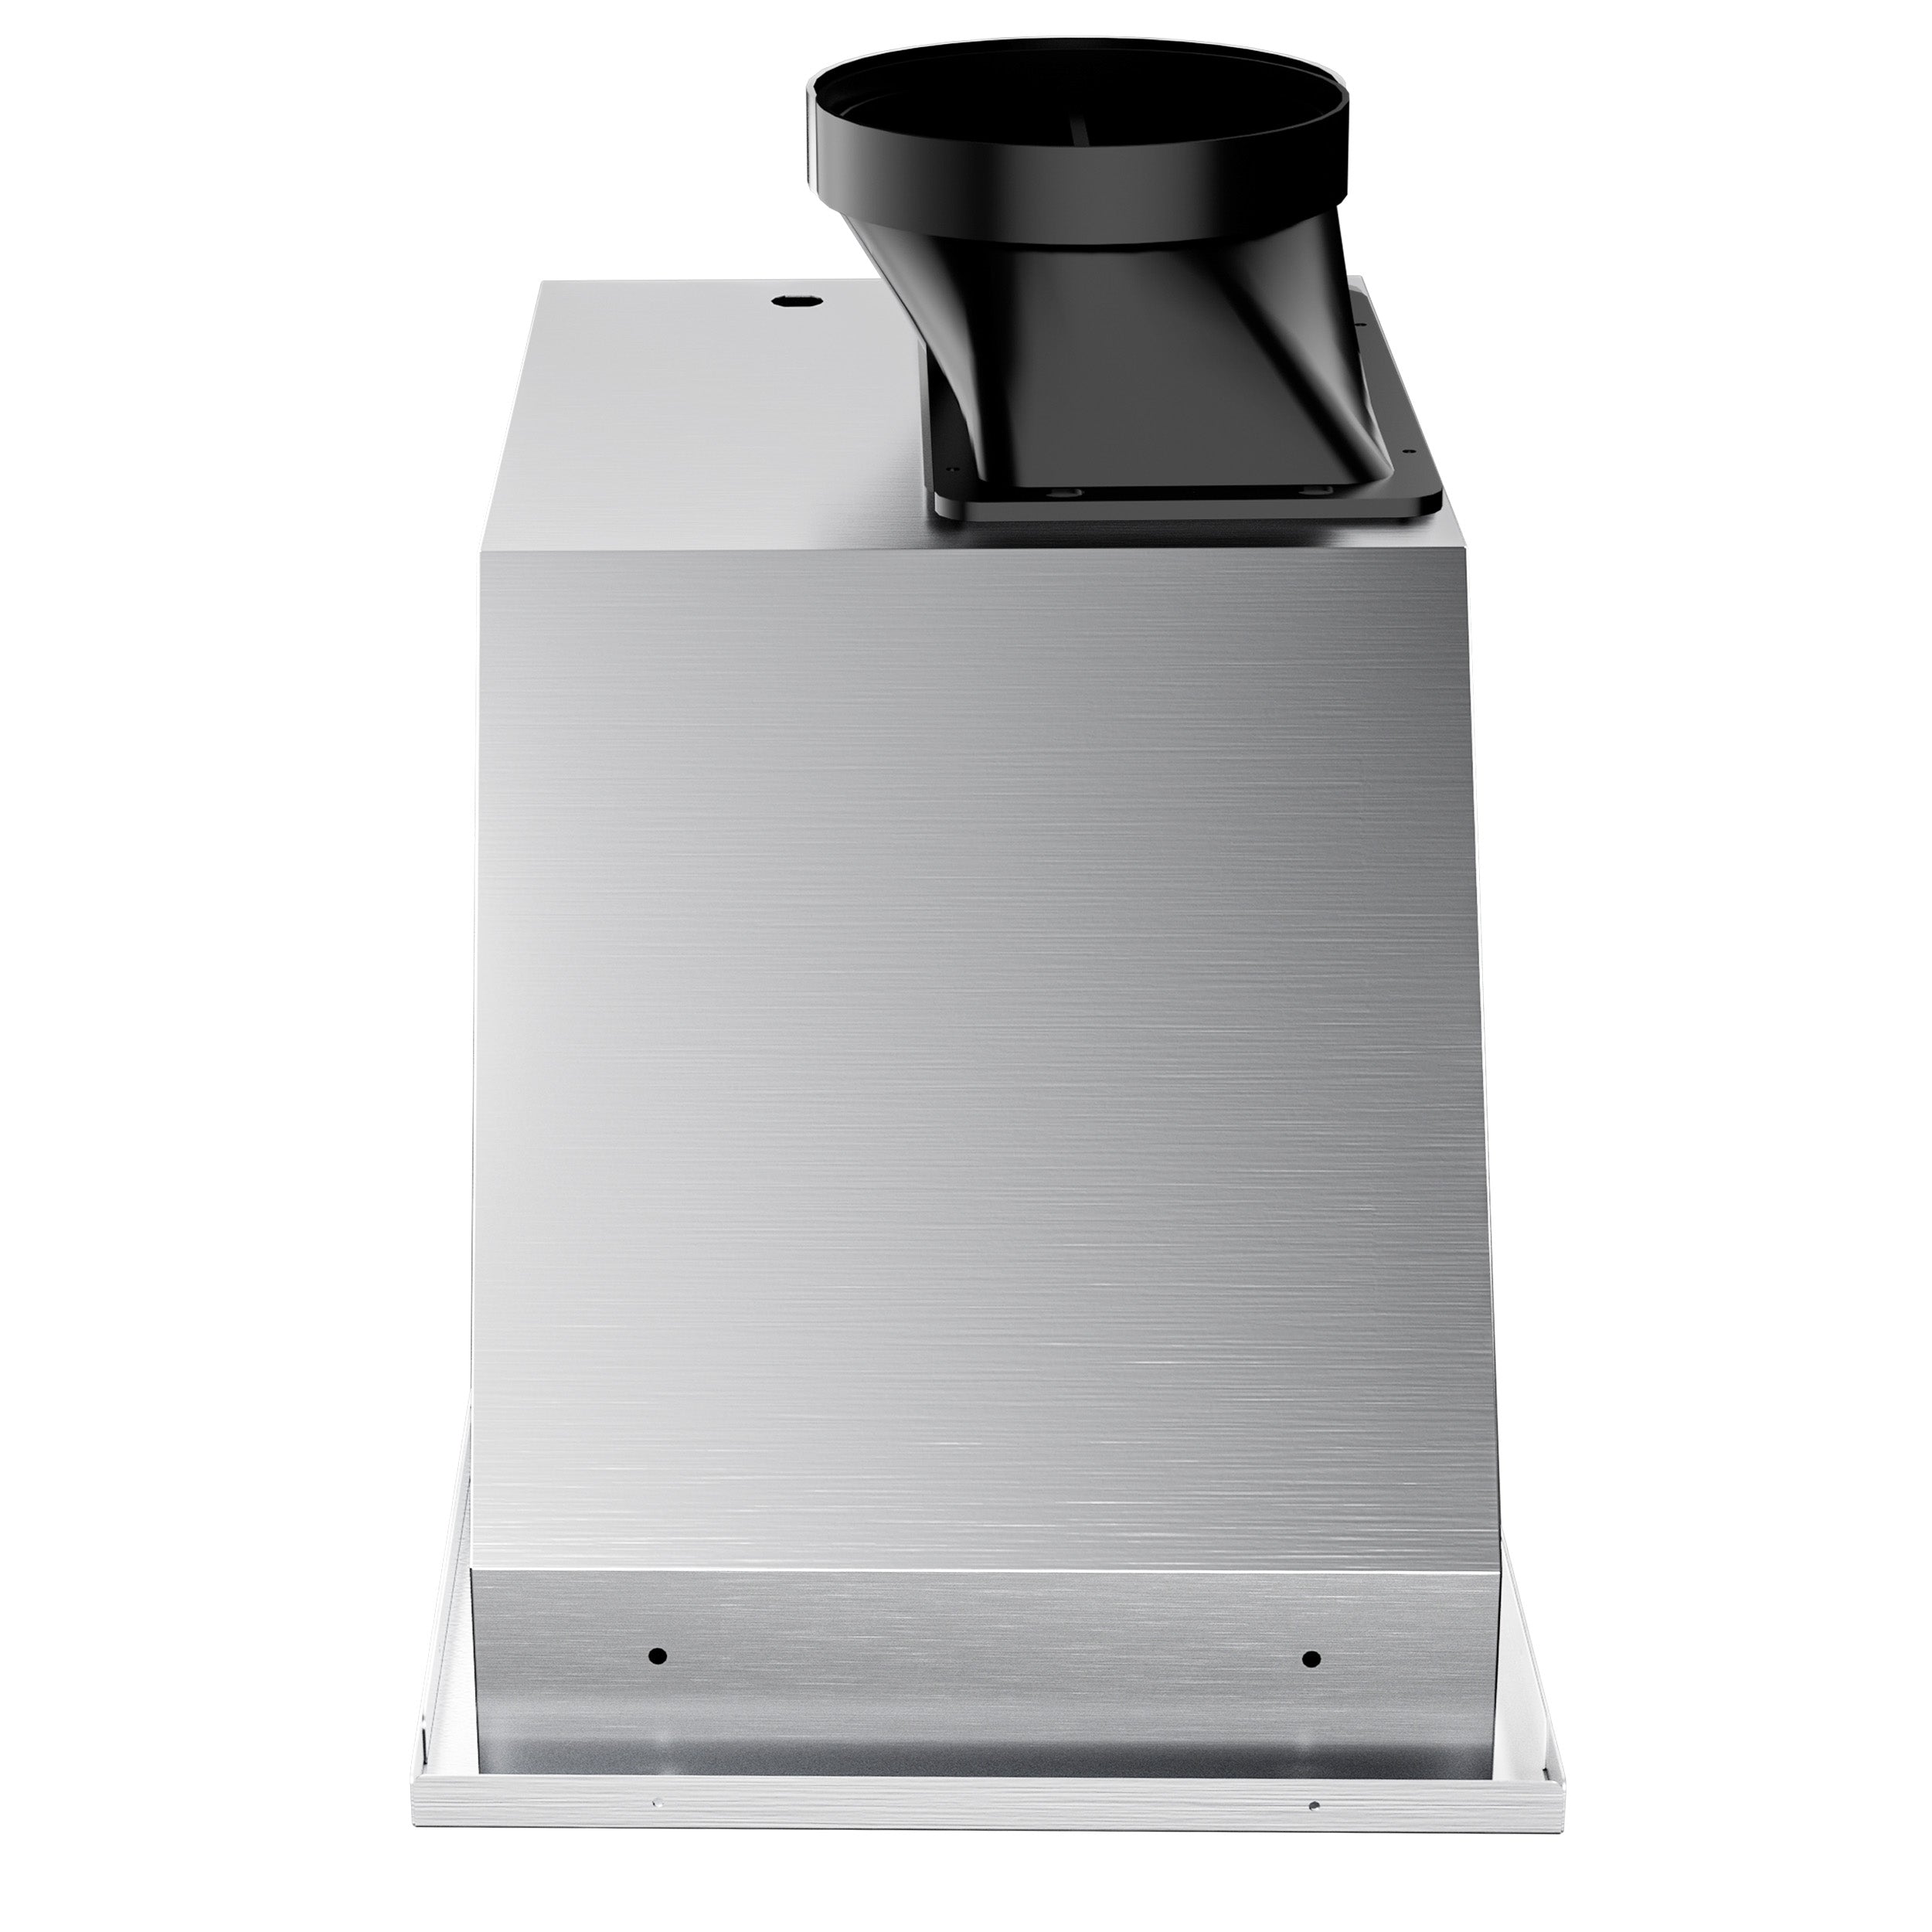
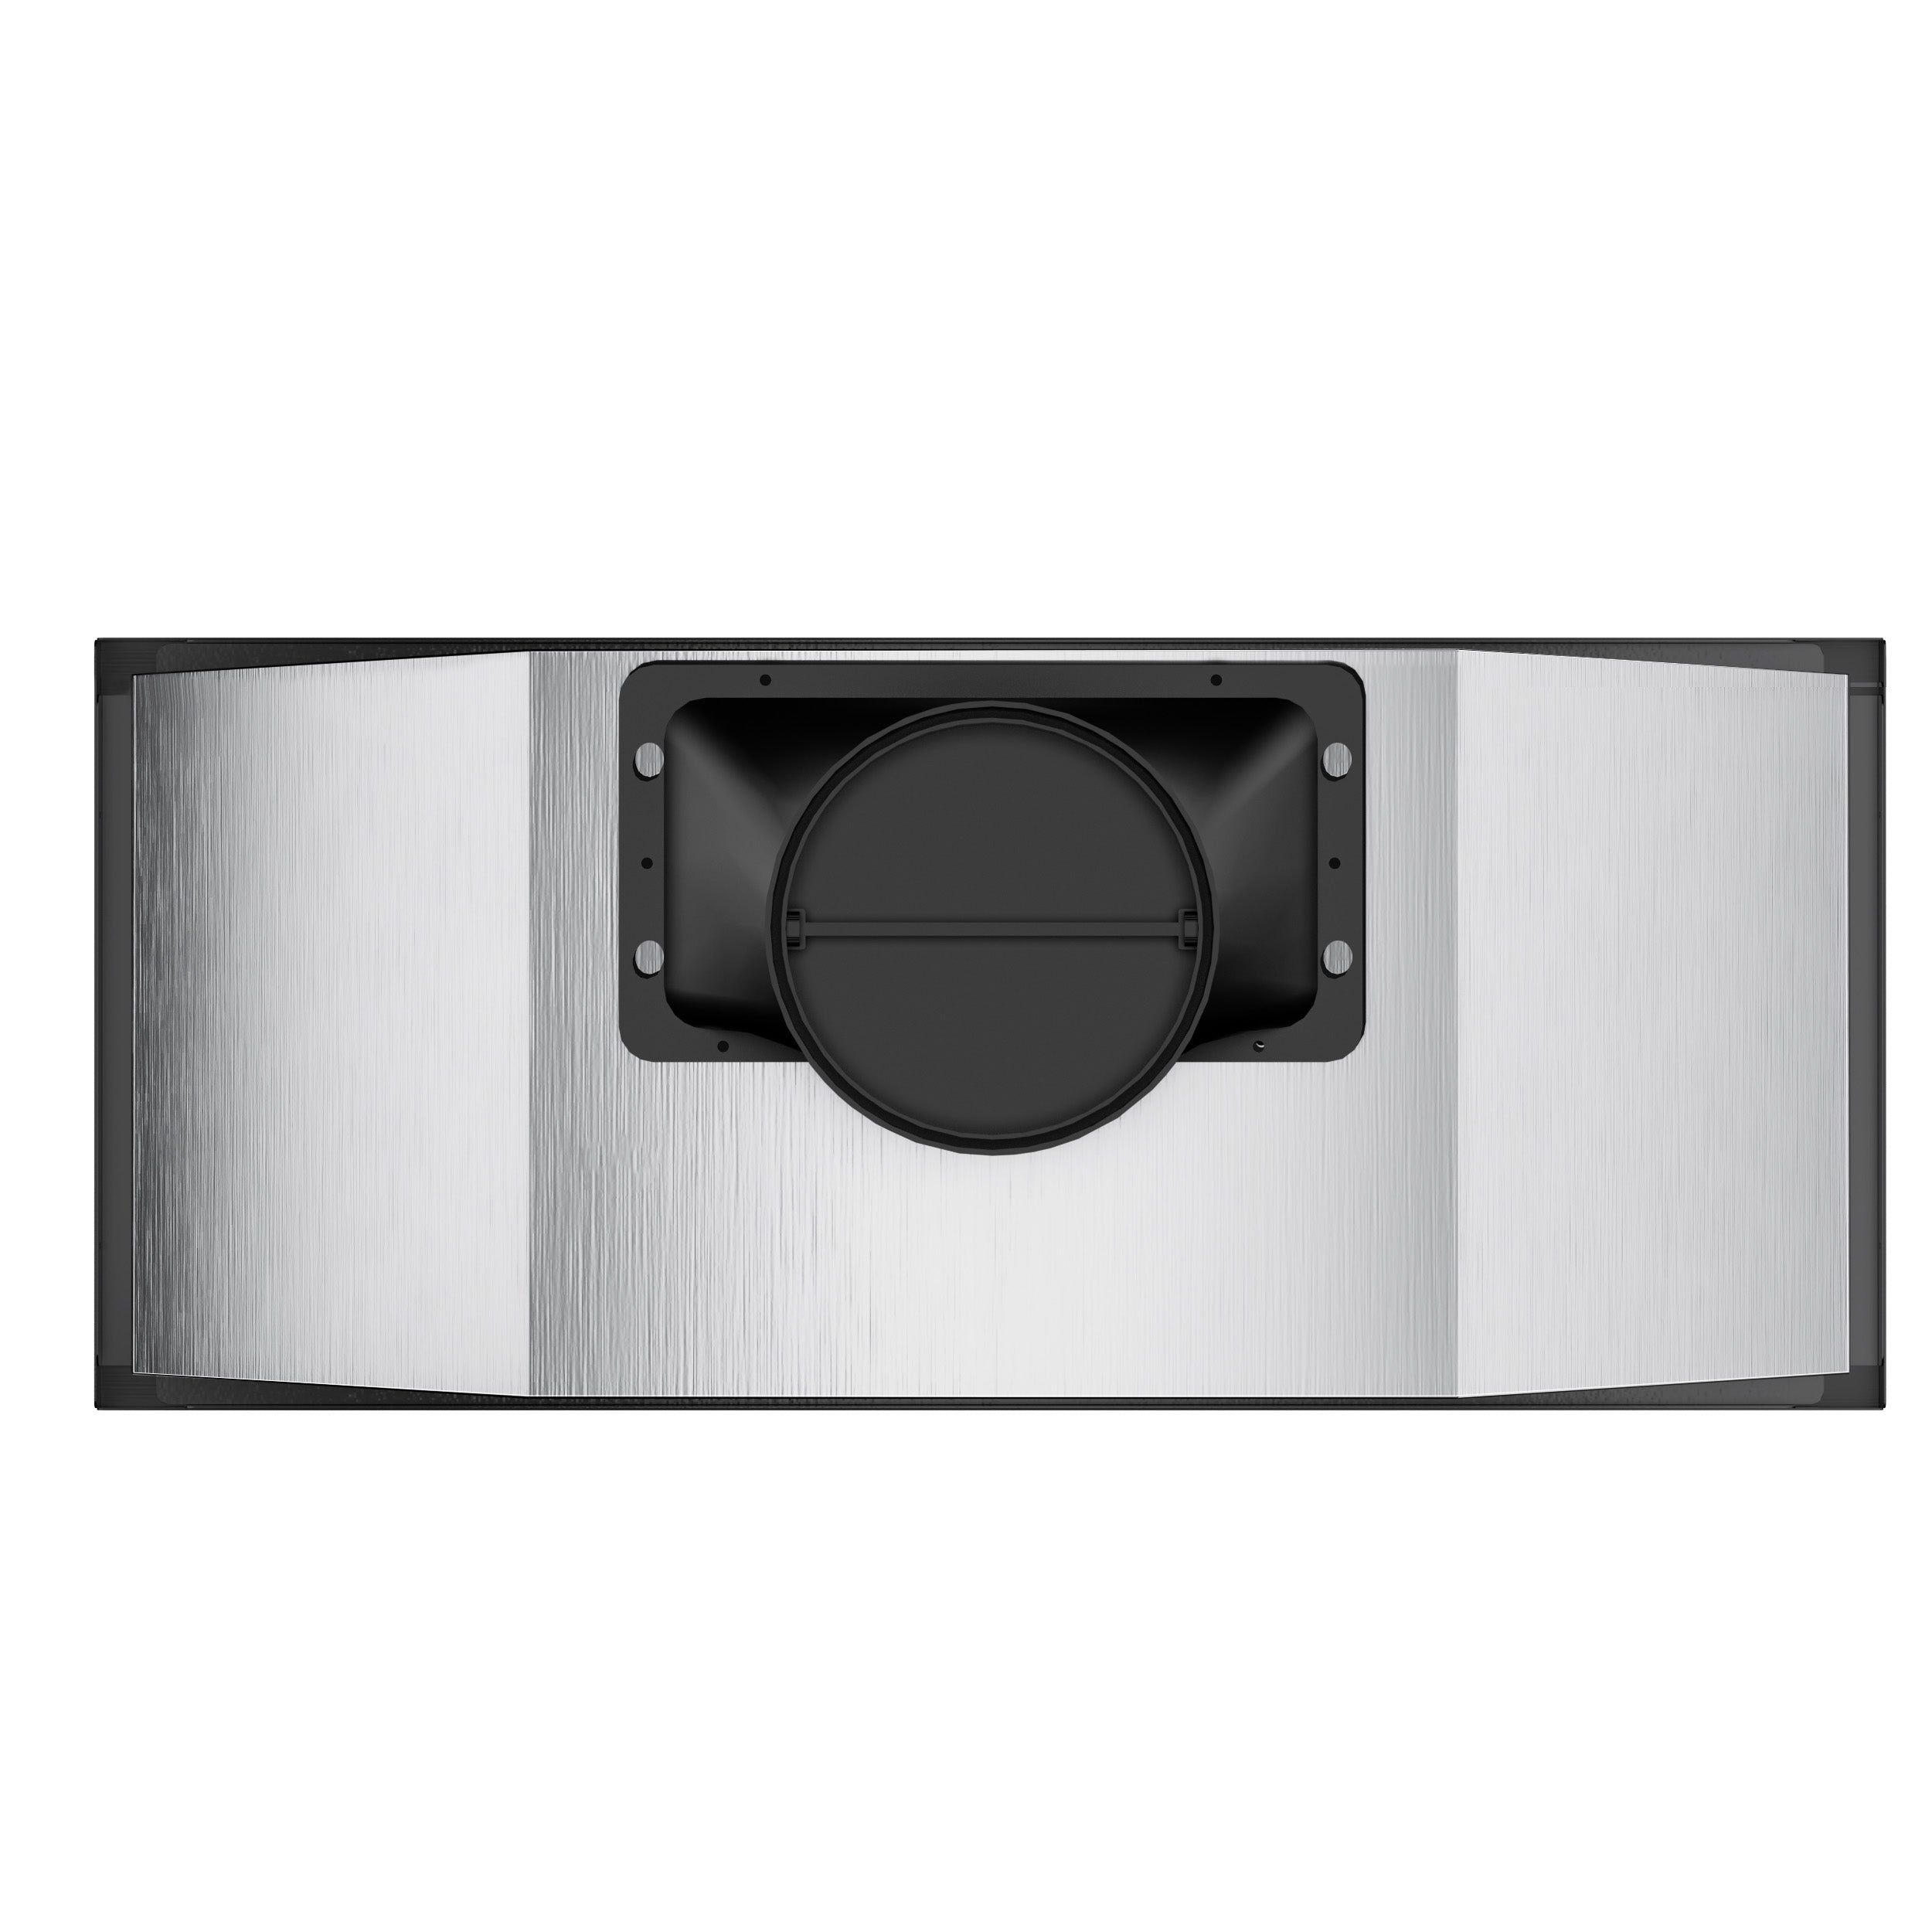
4. This range hood has a top 6ā Round exhaust (default).Decide the location of the venting pipe from the hood to the outside. A straight, short vent run will
5. allow the hood to perform more efficiently. Try to avoid elbows, transitions, and long run as muchas possible as this may reduce the performance of the hood. Make sure that the duct work leadsto the outside.
6. lt is recommended to use metal/aluminum duct/pipe with a uniform size (ex. 6" round pipe fromrange hood to the outside.)
7. lf an elbow is necessary, a minimum of 12ā straight run is necessary before the elbow.
Clearance
8. Clearance is the distance between the cooktop and the bottom of the range hood. Therecommended minimum clearance for this model is 26" and the maximum clearance is 30ā.
9. it is important to install the hood at the recommended clearance. Installing too low could result indamage and/or fire hazard while installing too high may result in reduced performance andefficiency.
lmportant: Peel protective film off the hood, if any
Use duct tape to seal joints between pipe sections.
CAUTION: lf moving the cooking range is necessary to install the hood, turn off the power in an electric range at the main electrical box. SHUT OFF THE GAS BEFORE MOVING A GAS RANGE. And use a protective covering to protect cooktop and/or countertop from damage.
IKB01 SERIES INSTALLATION
1.The hood has to be installed inside the cabinet. lt is recommended toinstall a front and rear stud support. Refer to Figure 1.and figure 2.
2.Determine and mark the centerlines on the base of the wood frame where theinsert will be installed.
3.Determine and make all necessary cuts in the wall or ceiling for the ductwork.
Note: Install the duct work before installing the insert.
4.Cut out the opening where the insert will be installed. Refer to Figure 3
5. Slide the hood to the opening
6. The hood could be installed a front and rear stud support, it also could be installed a left and right stud support. front side and rear side have 8 holeseach side has 4 holes, left side and right side have 4 holes, each side has 2holes refer to figture 4.
7. Locate the screw holes on each side of the insertAdjust the level of the hood casing support according to the thickness of the base
8. Secure the hood using the screw holes that are located at the front and back or left and right of the unit (screws provided). Refer to figture 4
9. Make sure the hood casing support is secure before releasing.
Ductwork
1. Attach the vent adapter to the exhaust opening
2. Connect the pipe to the vent adapter and seal the joint with duct tape. Make sure itis completely air tight.
Electrical Wire
1. Connect the range hood to an outlet.
2. lf hardwired is desired, cut off the plug and connect three wires (black, whiteļ¼green) to the outlet wires and cap with wire connectors. Connect the wires according to color(ex: black to black).
Finish
1. Remove any protective film from the hood.
2. Before using, make sure that any accessories such as baffle filters are properlyinstalled where applicable.
3. Test the range hood to see ifit is working properly.
THIS RANGE HOOD MUST BE PROPERLY GROUNDED.
MAKE SURE THIS IS DONE BY A QUALIFIED ELECTRICIAN IN ACCORDANCE WITH ALL APPLICABLE NATIONAL AND LOCAL ELECTRICAL CODES.BEFORE CONNECTING WIRESļ¼SWITCH POWER OFF AT SERVICE PANEL AND LOCK SERVICE PANEL TO PREVENT POWER FROM BEING SWITCHED ON ACCIDENTALLY
One Year Parts Warranty:
- For one year from the date of original purchase, we will provide free of charge, non-consumable replacement parts or components that failed due to manufacturing defects. Subject to the conditions and limitations set forth below, we will, at its option, either repair or replace any part of its products that prove defective by reason of improper workmanship or materials.
- Repaired parts or replacement products will be provided by us on an exchange basis, and will be either new or refurbished to be functionally equivalent to new.
- The consumer is responsible for all shipping costs.
- Consumable parts not covered by this warranty include but not limited to: light bulbs, stainless steel baffle filters.
Who is Covered?
- This warranty is extended to the original purchaser for products purchased for ordinary home use in the continental USA.
This Warranty Will Be Voided When:
- Product damaged through negligence, improper installation, accident, abuse, misuse, natural disaster, insufficient or excessive electrical supply, abnormal mechanical or environmental conditions, or any unauthorized disassembly, repair, modification, or failure to follow installation instructions.
- When product is used commercially or other than its intended purpose.
- Damaged because of improper connection with equipment of other manufacturers. Repaired or modified by anyone other than our authorized agents.
- This limited warranty also does not apply to any product on which the original identification information has been altered, obliterated or removed, has not been handled or packaged correctly, has been sold as second-hand.
What is Not Covered?
- Consumable parts such as light bulbs, stainless steel baffle filters. The natural wear of finish, and wear due to improper maintenance, use of corrosive and abrasive cleaning products, pads, and oven cleaner products.
- Chips, dents or cracks due to abuse, misuse, freight damage, or improper installation.
- Damage of product caused by accident, fire, floods or act of God. It is not liable for, and does not cover under warranty, any loss of properties or any costs associated with removing, servicing, installing, or determining the source of problems with our products.
This warranty is valid in the United States. It is non-transferable and applies only to the original purchaser and does not extend to subsequent owners of this product. Any applicable implied warranties, including the warranty of merchantability, are limited in duration to a period of express warranty as provided herein beginning with the date of original purchase at retail and, no warranties, whether express or implied, shall apply to this product thereafter.
To obtain warranty service, you may contact us, its dealer or distributor from which you purchased the product. Please confirm the terms of your dealer's or distributor's policies prior to contacting. Typically, you must include product identification information, including model number and lot number with a detailed description of the problem you are experiencing. YouĀ must also include proof of the date of original retail purchase as evidence that the product is within the applicable warranty period.